Best Homebrew Starter Kit 2026: 5 Beginner Setups Compared
FTC Disclosure: This article contains affiliate links. If you purchase through our links, we may earn a commission at no additional cost to you.
If you walk into a homebrew shop and ask for "a starter kit," you'll get pointed at one of two things: a $40 Mr. Beer box, or a $200-plus stainless setup that feels like overkill. Neither is wrong, but neither tells you the truth about what you'll actually be reaching for on brew day three.
Free: The First Brew Blueprint: 5-Gallon Amber Ale, Start to Sip
4 weeks from grain to glass
After running first batches with five different starter setups - and bottling six gallons of mediocre IPA in the process - here's what we'd buy if we were starting over today.
The 5-Minute Recommendation
No spam. Unsubscribe anytime.
- Best overall for $150 or less: Build your own with a 6.5-gallon fermenting bucket, an Inkbird ITC-308 temperature controller, and a Brewers Elite hydrometer set. Skip the kit, source the parts.
- Best out-of-box kit for confidence: The Northern Brewer 1-Gallon Gift Set if you want a small first batch with zero decisions.
- Best upgrade path: Start with a bucket, fermentation chamber via the Inkbird, then graduate to a stainless conical fermenter when you're brewing monthly.
What a Starter Kit Actually Needs
Forget the marketing photos. Every starter kit boils down to these eight categories, and how the kit handles each one is what separates a $50 disappointment from a $150 batch that actually tastes like beer.
1. A Fermenter That Doesn't Lie About Size
Most "5-gallon" beginner kits ship with 6-gallon fermenters. That's not a typo - you need headspace for kraeusen (the krausen foam cap that forms during active fermentation). A true 5-gallon vessel will erupt out of the airlock on day two of an IPA.
What works: 6.5-gallon plastic bucket with grommeted lid (cheapest, fine for ales), or 6-gallon glass carboy if you want to watch fermentation. Plastic wins for beginners. Glass is heavier, fragile, and harder to clean.
2. Temperature Control (The Single Biggest Quality Lever)
This is where 90% of beginner kits cheat. They include a fermenter but no way to hold it at 65-70F. Brew in a 76F kitchen and your ale yeast will throw off banana esters and fusel alcohols - the warm, harsh, "homebrew-y" taste people complain about.
The Inkbird ITC-308 is the universal answer. Plug it into a wall outlet, plug a cheap mini-fridge or a carboy heating wrap into the controller, and tape the probe to your fermenter. It's about $35 and it's the single piece of gear that turns "drinkable" into "actually good."
3. Sanitation You'll Actually Use
Bleach works in a pinch and ruins flavor if you rinse poorly. Iodophor stains everything. Oxygen-based cleaners (PBW, Oxiclean Free) are great for cleaning but don't sanitize.
The category answer is Five Star Star San. It's no-rinse, food-safe, kills everything in 60 seconds, and a 32oz bottle lasts about a year of brewing. Don't skip this. The single most common cause of infected beer is "I thought soap was enough."
4. Hydrometer and Test Jar
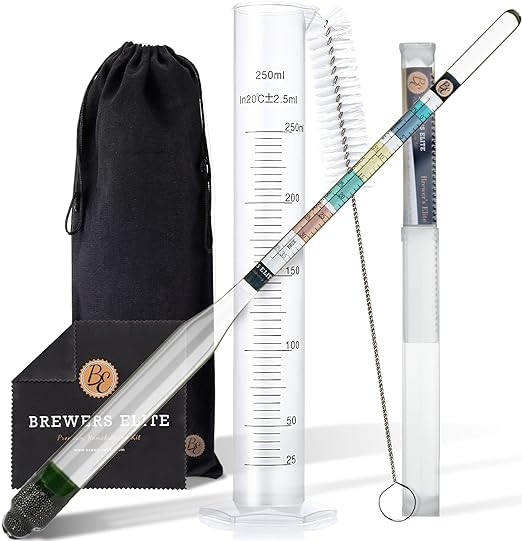
Skip the refractometer for batch one. The Brewers Elite hydrometer and plastic test jar combo is $22, takes 90 seconds to use, and tells you (a) starting gravity so you know your beer's potential alcohol, and (b) when fermentation is actually done. Bottle without one and you risk bottle bombs.
5. Bottling Bucket and Bottles
You need a second food-grade bucket with a spigot, a racking cane to transfer beer without splashing, and either flip-top Grolsch-style bottles or standard 12oz bottles with new caps. Reuse commercial bottles (NOT screw-tops - they crack), or buy North Mountain 12oz amber 24-packs.
If you'd rather not bottle at all, jump straight to a 5-gallon Cornelius keg and a basic CO2 setup. Higher upfront cost, dramatically less labor per batch.
6. A Brew Kettle You Won't Outgrow
Most $50 starter kits include a 5-gallon kettle. Skip it. Buy a 5-gallon stainless steel kettle with spigot or an 8-gallon Brewers Best basic pot. The spigot saves you a back injury during transfer day, and the extra capacity means you can move to all-grain brewing without buying a new pot.
7. Tubing, Airlock, Bottling Wand
These are the cheap parts every kit gets right - and the parts that cause 90% of contamination problems if you don't sanitize them. Buy spares of the 3-piece airlocks and silicone tubing. Replace tubing yearly.
8. A Recipe (and the Honesty to Pick One That Hides Mistakes)
Your first batch should be an American Brown Ale or a Hefeweizen. They're forgiving of temperature drift, slightly under-pitched yeast, and the inevitable rookie sanitation slip. Don't start with a Pilsner. Don't start with a hazy IPA. Save those for batch four.
The 5 Setups, Ranked
1. DIY Bucket Build (Recommended) - About $140 total
- 6.5-gal fermenter bucket: $33
- Inkbird ITC-308 temperature controller: $35
- Carboy heating wrap: $55
- Hydrometer + jar: $22
- Star San (32 oz): $29
- Bottling bucket + cane + tubing: $30 (reuse fermenter, buy a second spigot bucket)
- Total: $144, plus your kettle of choice
Why it wins: You get real temperature control from day one, you can swap individual parts as they wear out, and you'll have everything for batch two without re-buying anything.
2. Northern Brewer Brew. Share. Enjoy. Starter Kit - $120
Best store-bought option. Solid 5-gallon kettle, plastic fermenter, real instructions, and Northern Brewer's recipe kits are well-documented online. Missing: temperature control. Add the Inkbird separately and you're at $155 - same as DIY with less hunting.
3. Brewer's Best Deluxe Equipment Kit - $130
Includes a secondary fermenter and clamp-on thermometer. The secondary teaches you about clearing beer and bulk aging, which is a real intermediate skill. Still no temperature control.
4. Craft A Brew One-Gallon Kit - $50
Best for "do I even like brewing?" If you live in an apartment with no space, a one-gallon glass carboy and a small recipe pack are perfect. You'll brew 10 bottles, learn the process, and either upgrade or stop. No regret either way.
5. Mr. Beer Craft Beer Making Kit - $48
The "pour mix in a barrel, wait, drink" path. It works. The beer is fine. It doesn't teach you brewing - it teaches you fermentation babysitting. Fine as a gift, not a foundation.
What to Skip in Your First Year
- All-grain rigs. Mash tuns, sparge systems, RIMS, HERMS - all of it. Extract or partial-mash for batches 1-10. You'll thank yourself.
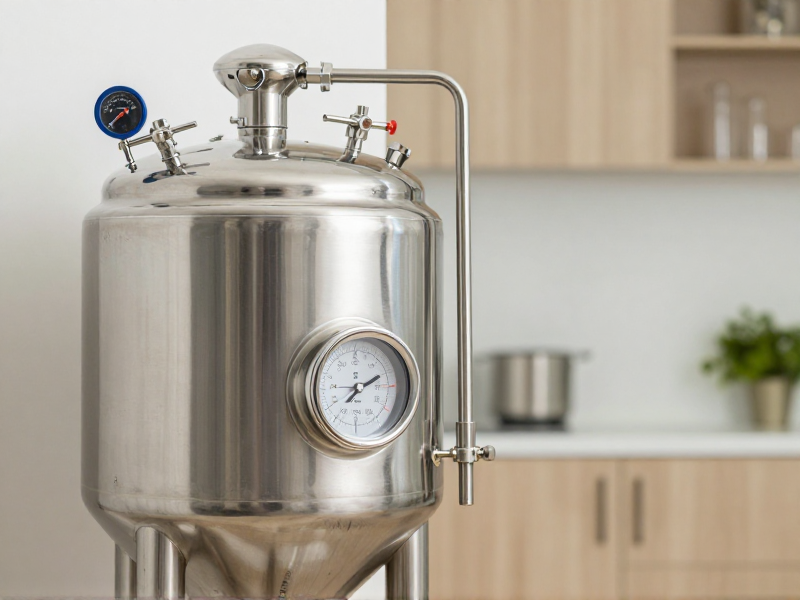
- Stainless conical fermenters. Beautiful, expensive, overkill until you brew monthly.
- A pH meter. You don't need to read mash pH yet. The Apera PH700 is a great tool for batch 50, not batch one. (When you do upgrade, the Apera PH700 is the standard.)
- An electric brewing controller. Propane outside is cheaper and easier to learn on.
Common Beginner Mistakes (Save Your Batch)
- Pitching warm. Cool your wort below 70F before pitching yeast. Pitching at 85F is the fastest way to get fusel alcohols.
- Skipping the sanitizer. Every surface that touches cooled wort gets Star San first. Every time.
- Bottling too early. Wait until your hydrometer reads the same number three days in a row. Bottle bombs are not a joke.
- Brewing in a hot kitchen. Find your coolest corner, then add the Inkbird for control.
- Buying a kit for the box, not the contents. Fancy packaging means cheap fittings. Pick parts on spec, not aesthetics.
Bottom Line
Build your own from these six items and you'll have a setup that takes you from batch one to batch fifty without re-buying anything: a 6.5-gallon fermenter, an Inkbird ITC-308, a heating wrap for cold seasons, a Brewers Elite hydrometer set, Star San, and a kettle you won't outgrow. Add a recipe kit on top, and you're brewing for under $200 with gear you'll use for years.
This article was last reviewed on May 13, 2026.
Affiliate Disclosure
Discussion
Sign in with GitHub to leave a comment. Your replies are stored on this site's public discussion board.